来源: 超越GPT-3.5!Llama3个人电脑本地部署教程
本文和大家分享一下如何在个人电脑上部署Llama3,拥有你自己的GPT-3.5+!
很多读者担心本地部署时个人电脑的硬件配置不够,实际上这种担心是多余的,笔者使用的是MacBook M2 Pro (2023款), 主要硬件配置如下:
- 10核CPU
- 16G内存
部署步骤大致如下:
- 安装Ollama
- 下载Llama3
- 安装Node.js
- 部署WebUI
安装Ollama
Ollama可以简单理解为客户端,实现和大模型的交互,读者可以前往https://ollama.com/download,根据操作系统类型下载对应的客户端,比如笔者下载的是macOS的。
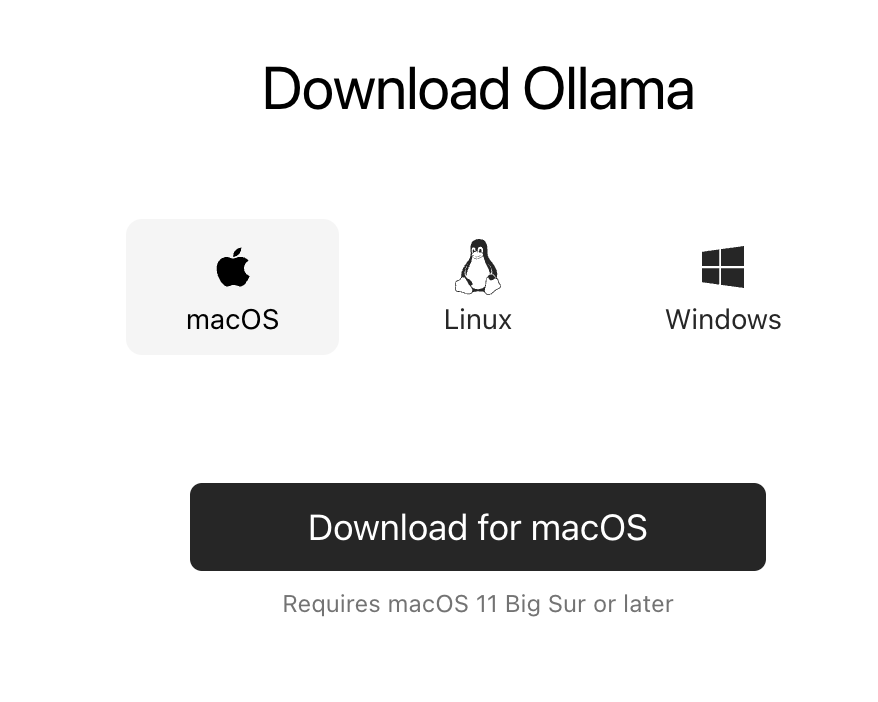
下载之后打开,直接点击Next以及Install安装ollama到命令行。安装完成后界面上会提示ollama run llama2,不需要执行这条命令,因为我们要安装llama3。
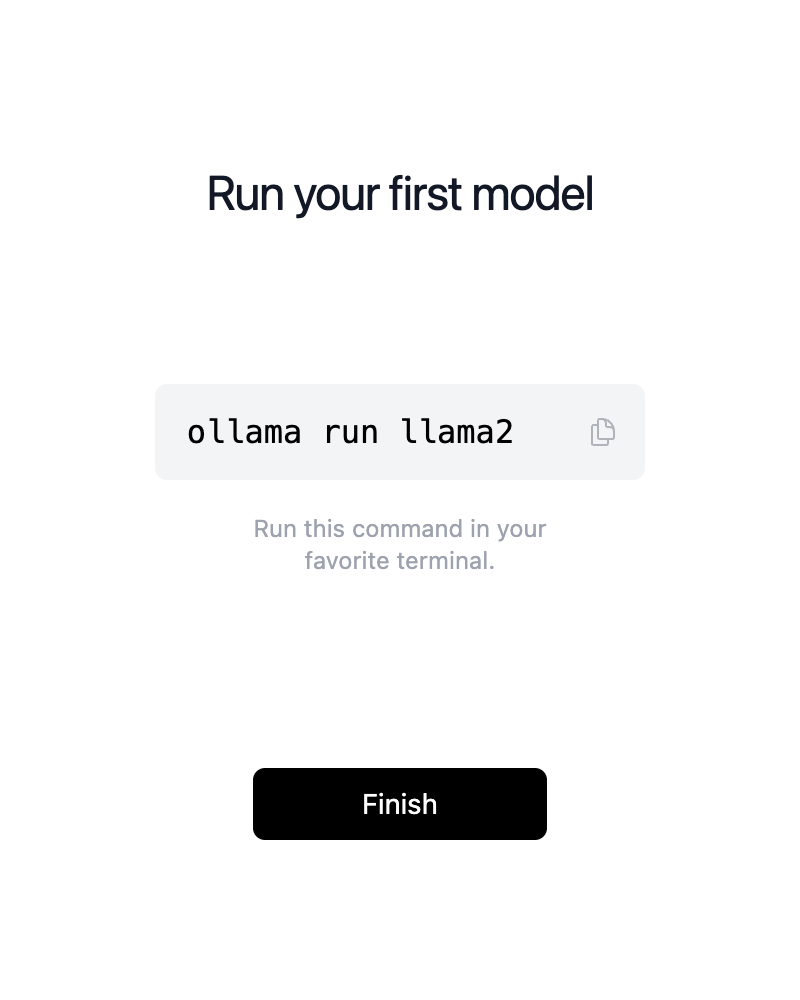
下载Llama3
打开新的终端/命令行窗口,执行以下命令:
ollama run llama3
程序会自动下载Llama3的模型文件,默认是8B,也就80亿参数版本,个人电脑完全可以运行。
成功下载模型后会进入交互界面,我们可以直接在终端进行提问,比如笔者问的Who are you?,Llama3几乎是秒回答。
➜  Projects ollama run llama3
>>> who are you?
I'm LLaMA, a large language model trained by a team of researcher at Meta
AI. I'm here to chat with you and answer any questions you may have.

I've been trained on a massive dataset of text from the internet and can
generate human-like responses to a wide range of topics and questions. My
training data includes but is not limited to:

* Web pages
* Books
* Articles
* Research papers
* Conversations

I'm constantly learning and improving my responses based on the
conversations I have with users like you.

So, what's on your mind? Do you have a question or topic you'd like to
discuss?
安装Node.js
支持Ollama的WebUI非常多,笔者体验过热度第一的那个WebUI(https://github.com/open-webui/open-webui),需要Docker或者Kubernetes部署,有点麻烦,而且镜像也差不多1G。
本文推荐使用ollama-webui-lite(https://github.com/ollama-webui/ollama-webui-lite),非常轻量级,只需要依赖Node.js。
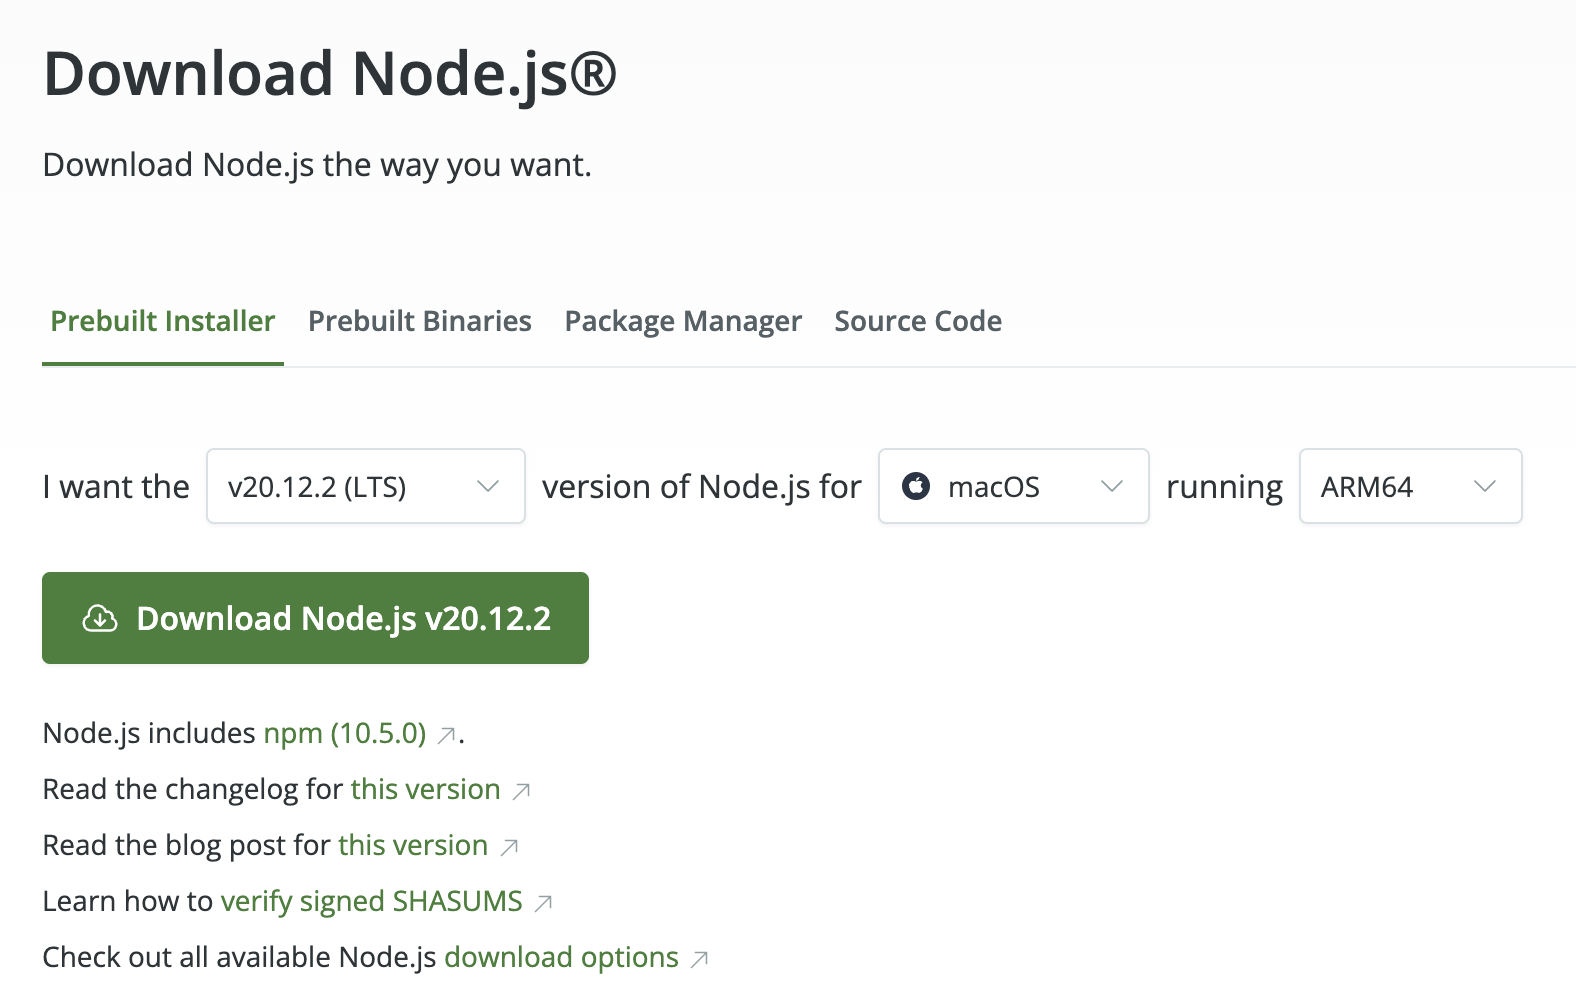
小伙伴可以前往(https://nodejs.org/en/download)根据自己的操作系统和CPU芯片类型下载对应的Node.js并进行安装。
设置国内NPM镜像
官方的NPM源国内访问有点慢,笔者推荐国内用户使用腾讯NPM源(https://mirrors.cloud.tencent.com/npm/),之前笔者使用的是淘宝源,但是今天看淘宝源(https://registry.npm.taobao.org/)的证书已经过期89天也没人维护。
打开终端执行以下命令设置NPM使用腾讯源:
npm config set registry http://mirrors.cloud.tencent.com/npm/
部署WebUI
打开终端,执行以下命令部署WebUI:
git clone https://github.com/ollama-webui/ollama-webui-lite.git
cd ollama-webui-lite
npm install
npm run dev
提示如下,WebUI已经在本地3000端口进行监听:
> ollama-webui-lite@0.0.1 dev
> vite dev --host --port 3000


  VITE v4.5.2  ready in 765 ms

  ➜  Local:   http://localhost:3000/
打开浏览器访问http://localhost:3000,可以看到如下图所示界面。默认情况下是没有选择模型的,需要点击截图所示箭头处选择模型。
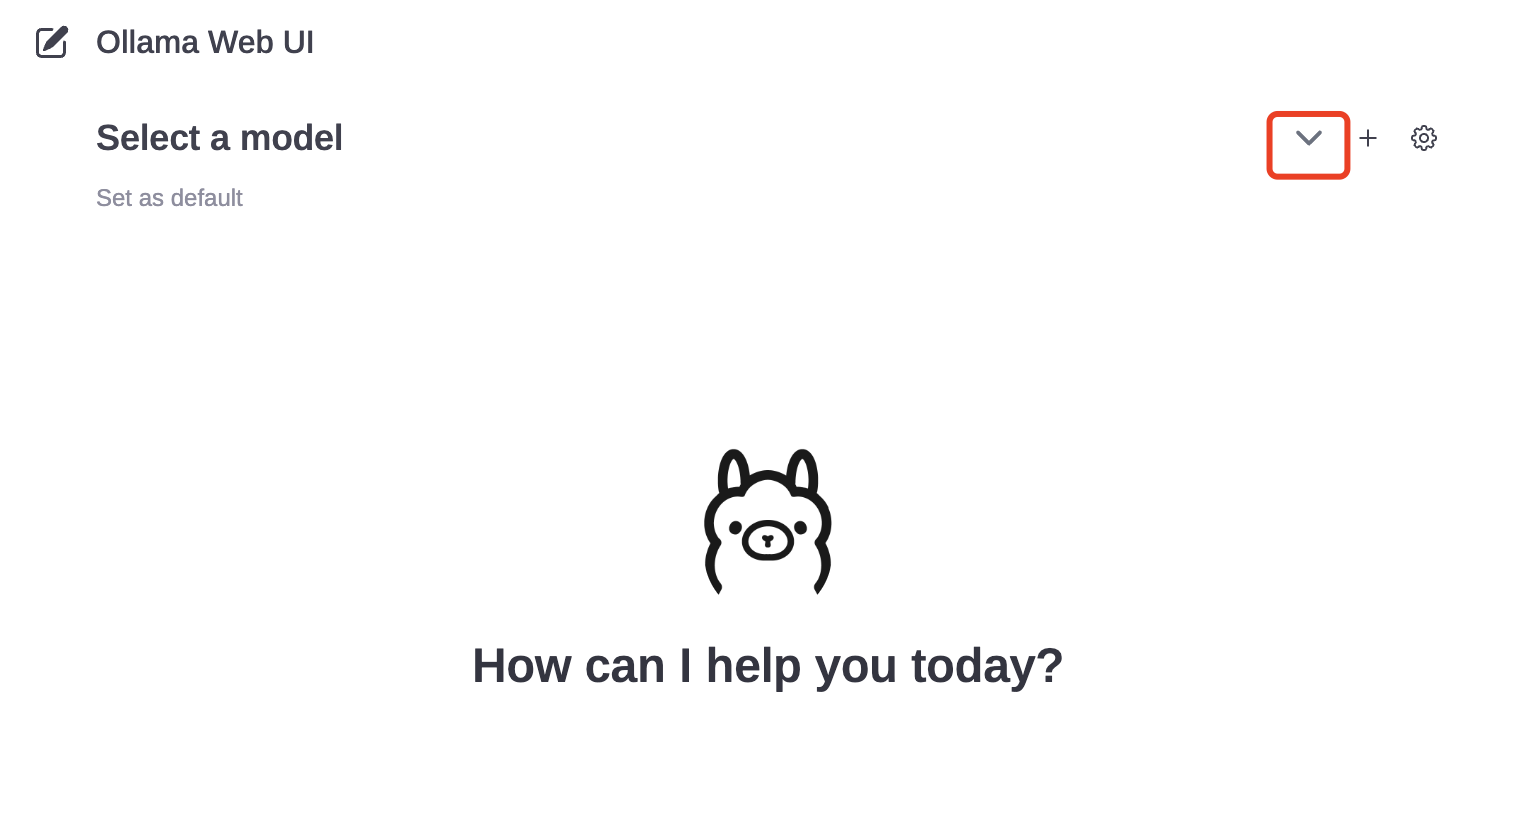
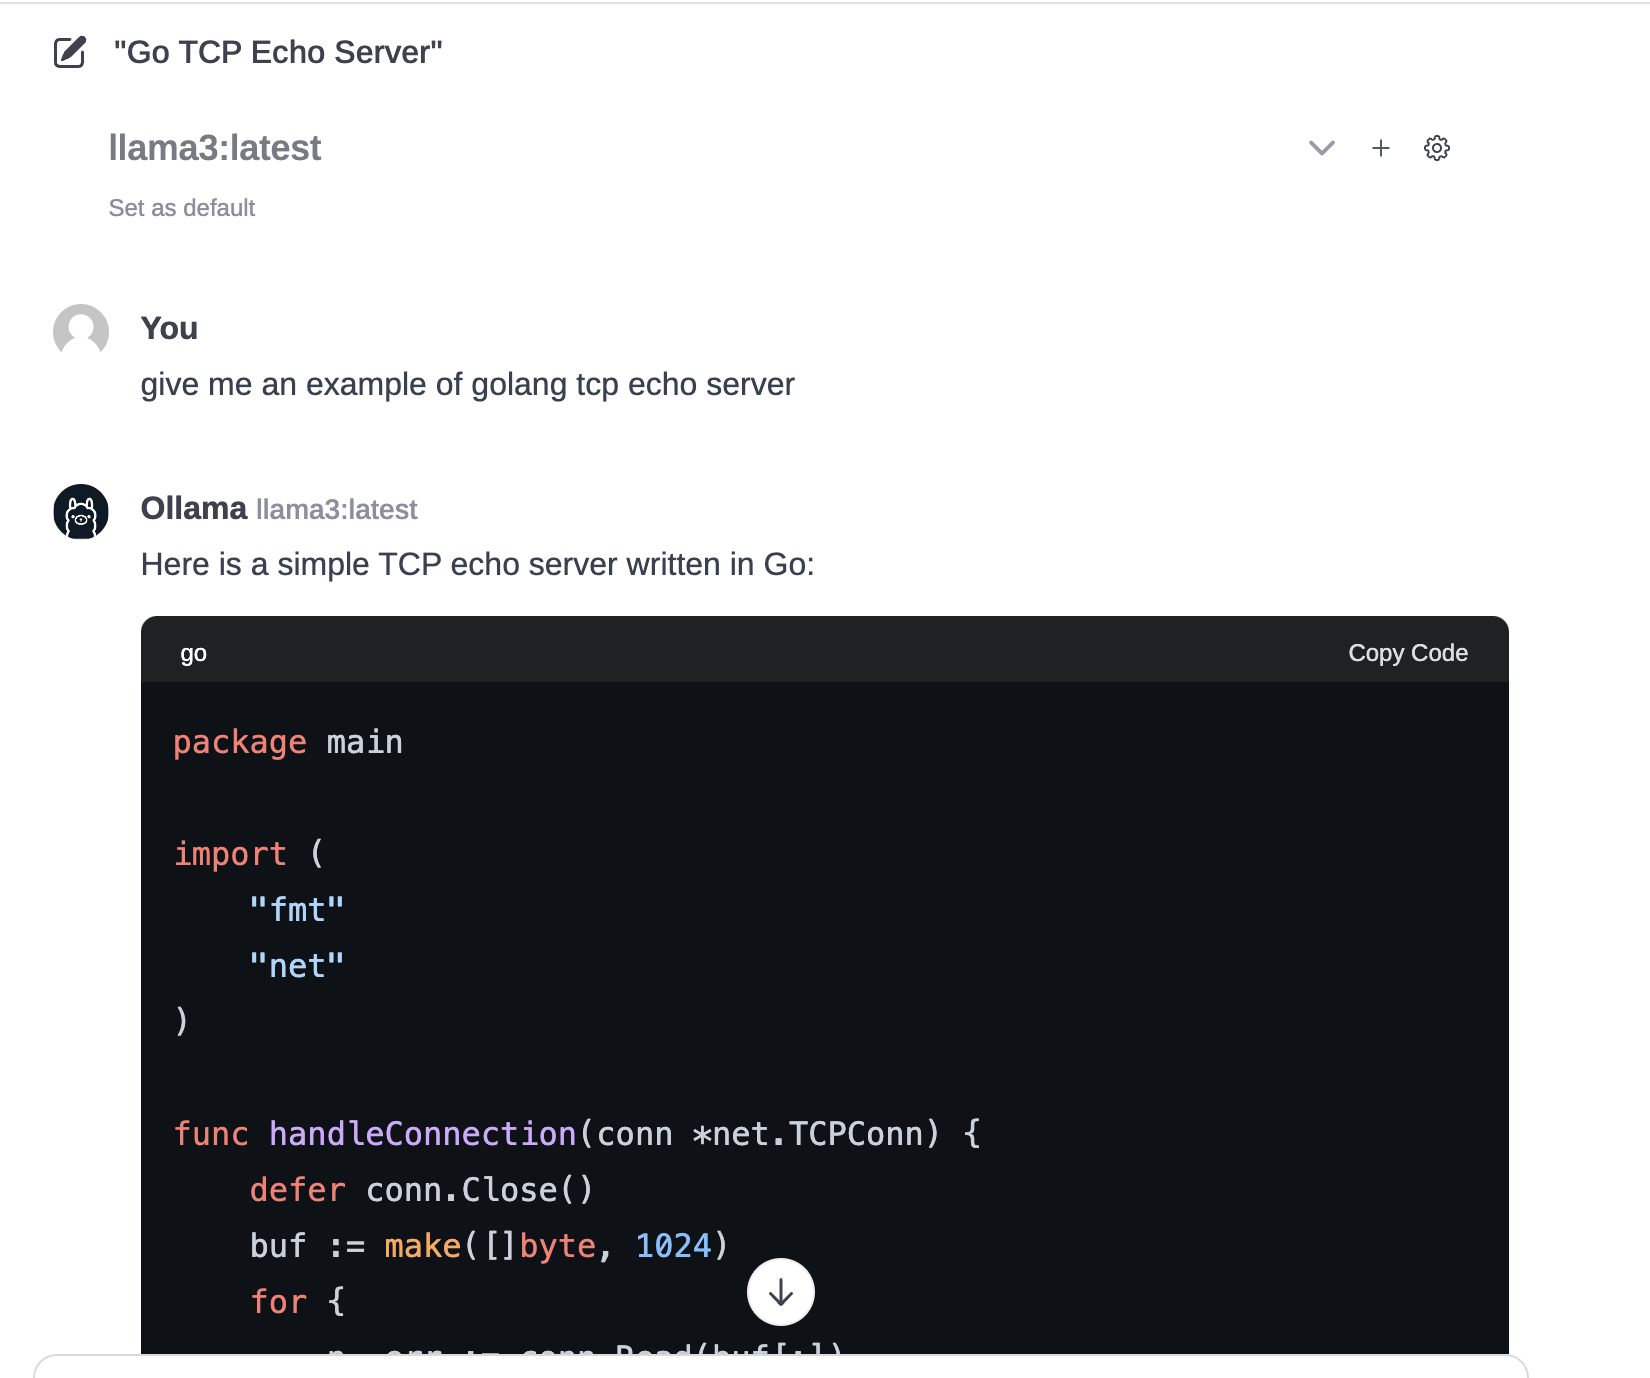
笔者给模型提了一个编写一个Golang Echo Server的例子,大概5秒就开始打印结果,速度非常不错。
部署遇到问题的小伙伴可以关注公众号进群交流。
 Mikel
Mikel

